
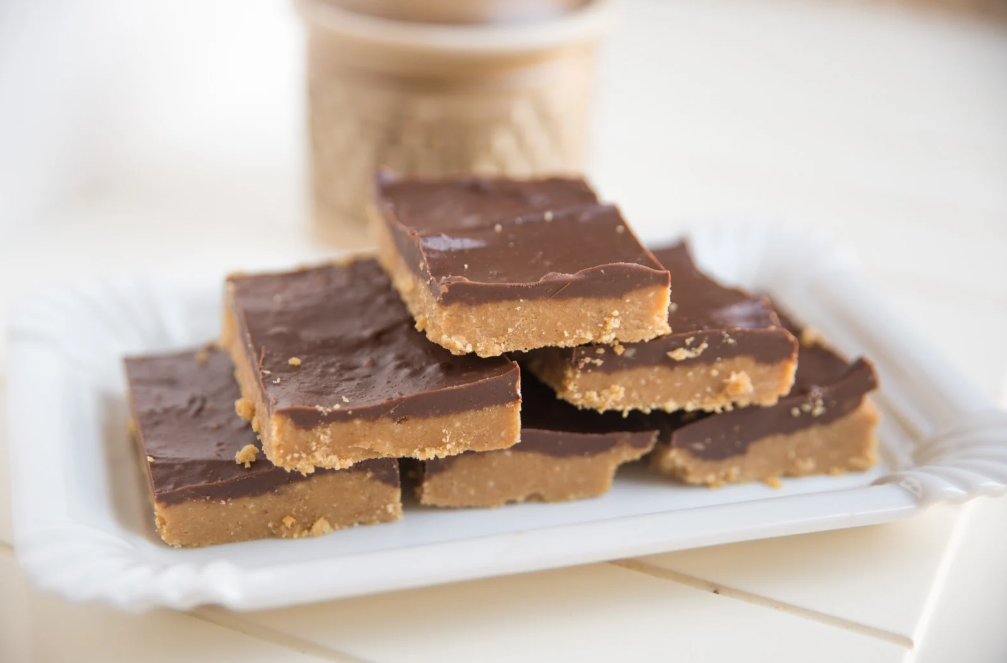
Hi, I’m Hannah! We all have those moments where we crave a peanut butter cup, but we don’t want the excess sugar or the processed additives. I wanted a treat that satisfied that specific sweet-and-salty craving but was easy enough to make without turning on the oven—especially when I just want something quick for a weeknight dessert. Consequently, these No Bake Chocolate Peanut Butter Bars have become my absolute favorite freezer treat. They require only four simple pantry ingredients and taste dangerously similar to a Reese’s cup. Furthermore, they are packed with healthy fats and protein from the peanut butter. It is the ‘good habit’ of keeping a stash of healthy sweets on hand so you never feel deprived.
Why You’ll Love These Chocolate Peanut Butter Bars
- Tastes Like Candy: First of all, the combination of maple syrup and peanut butter creates a dough that tastes exactly like the inside of a peanut butter cup.
- No Oven Required: Additionally, this is a true no-bake recipe. You simply mix the base, press it into a pan, and let the freezer do the work.
- Diet Friendly: Moreover, these are naturally vegan, gluten-free, and dairy-free. If you use sugar-free syrup and chocolate, they become perfectly Keto-friendly too.
- 4 Ingredients: Finally, you likely have everything you need in your pantry right now. No fancy equipment or strange flours are needed.
The Simple Ingredients You’ll Need
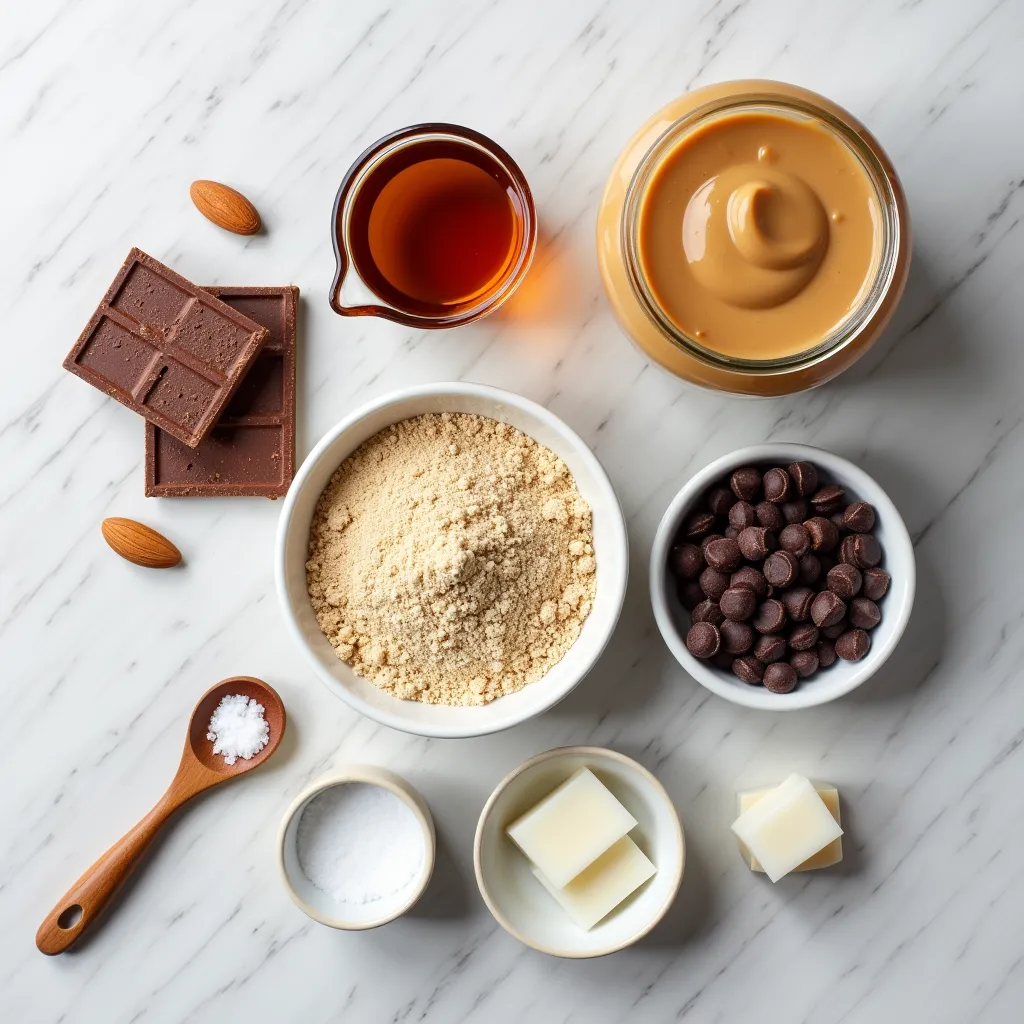
This recipe relies on the quality of your peanut butter for the best texture.
- Peanut Butter: To start, use creamy, natural peanut butter (the kind where the only ingredients are peanuts and salt). It should be drippy and smooth. If you use the stiff processed kind, the bars might be too dry.
- Maple Syrup: Next, pure maple syrup sweetens the bars and helps bind the flour together. Honey works as a non-vegan alternative.
- Almond Flour: In addition, blanched almond flour gives the bars a soft, cookie-dough texture that is safe to eat raw. You can swap this for oat flour if you have a nut allergy (though the flavor will be more “oatmeal-like”).
- Chocolate Chips: Furthermore, use high-quality chocolate chips for the topping. I prefer semi-sweet or dark chocolate to balance the sweetness of the base.
- Coconut Oil (Optional): Finally, adding a teaspoon of coconut oil to the chocolate helps it melt smoother and makes it easier to slice later without cracking.
How to Make No Bake Chocolate Peanut Butter Bars
This process is incredibly fast. The full, detailed recipe is in the recipe card below.
- Prepare the Pan: First, line an 8×8 baking pan with parchment paper. Leave some paper hanging over the sides so you can easily lift the bars out later.
- Mix the Base: Next, in a medium bowl, stir together the peanut butter and maple syrup until smooth. Add the almond flour and mix until a thick dough forms. It should be like playdough.
- Press into Pan: Then, dump the dough into the prepared pan. Use your hands or the back of a measuring cup to press it down into a firm, even layer.
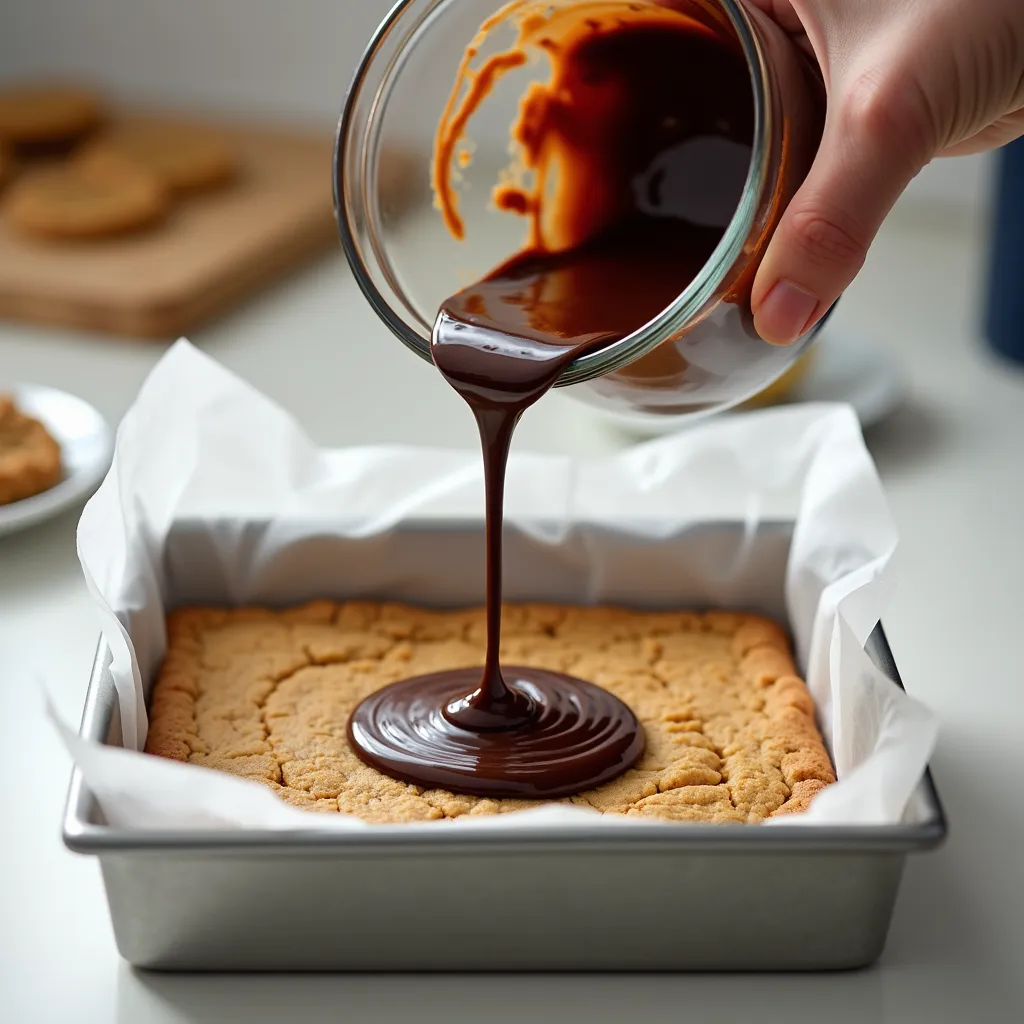
- Melt Chocolate: After that, place the chocolate chips (and coconut oil, if using) in a microwave-safe bowl. Microwave in 30-second intervals, stirring in between, until completely smooth.
- Pour & Chill: Subsequently, pour the melted chocolate over the peanut butter layer. Spread it out to the edges. Place the pan in the freezer for 15-20 minutes, or until the chocolate is set.
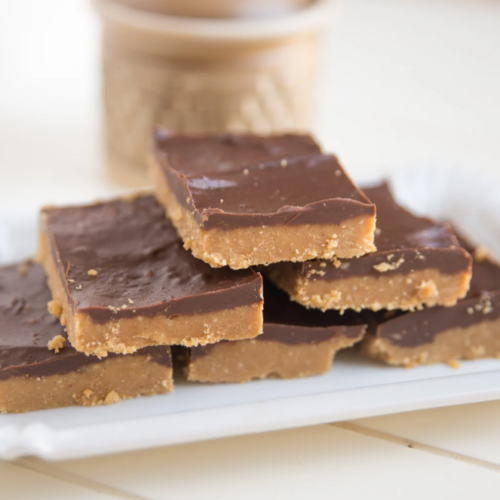
- Slice: Finally, lift the bars out of the pan using the parchment paper. Use a sharp knife to cut them into squares.
Tips for the Best No Bake Bars
- Use Runny Peanut Butter: Most importantly, natural peanut butter works best here. If your jar is dry and crumbly at the bottom, add a teaspoon of melted coconut oil to the mixture to help it bind.
- Don’t Over-Freeze: Specifically, only freeze them until the chocolate is set (about 20 minutes). If you freeze them solid, the chocolate layer will crack when you try to cut it.
- Slice Warm: For instance, to get perfect clean cuts, run your knife under hot water and wipe it dry before slicing. The heat melts through the chocolate shell cleanly.
- Add Crunch: If you like texture, stir some crushed peanuts or Rice Krispies into the peanut butter base before pressing it into the pan.
Frequently Asked Questions (FAQ)
- Can I use coconut flour? No, I don’t recommend it. Coconut flour absorbs way too much liquid and will make the bars extremely dry and crumbly unless you drastically change the ratios.
- Can I make this Keto? Yes! Simply swap the maple syrup for a sugar-free syrup (like monk fruit) and use sugar-free chocolate chips.
- How do I store them? Because natural peanut butter can get soft at room temperature, it is best to store these in the fridge or freezer. They will last up to 2 weeks in the fridge.
More Healthy Desserts
- Healthy Fudgy Zucchini Brownies (Gluten-Free)
- No-Bake Peanut Butter Energy Bites (3-Ingredient Recipe)
- Healthy Breakfast Cookies (3-Ingredient Recipe)

No Bake Chocolate Peanut Butter Bars Recipe
Equipment
- Mixing Bowl
- 8×8 Baking Pan
- Parchment Paper
Ingredients
- 1 cup creamy natural peanut butter drippy is best
- 1/3 cup pure maple syrup or honey
- 1/2 cup almond flour
- 3/4 cup semi-sweet chocolate chips
- 1 tsp coconut oil optional, for smoother chocolate
- Flaky sea salt optional, for topping
Instructions
- Prep: First, line an 8×8 square baking pan with parchment paper.
- Make Dough: Next, in a medium bowl, mix the peanut butter and maple syrup. Stir in the almond flour until a thick dough forms.
- Press: Transfer the dough to the pan. Press it down firmly into an even layer using your hands or a spatula.
- Melt Chocolate: Place chocolate chips and coconut oil in a microwave-safe bowl. Heat in 30-second increments, stirring until melted and smooth.
- Top: Pour the chocolate over the peanut butter layer and spread evenly. Sprinkle with sea salt if desired.
- Chill: Place in the freezer for 15-20 minutes until the chocolate is firm.
- Slice: Finally, lift out of the pan and slice into 16 squares. Store in the fridge.
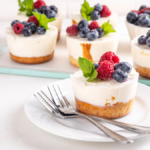
Pingback: Healthy Mini Cheesecakes (High Protein Greek Yogurt Recipe) - The Good Habit